New House Battery Bank
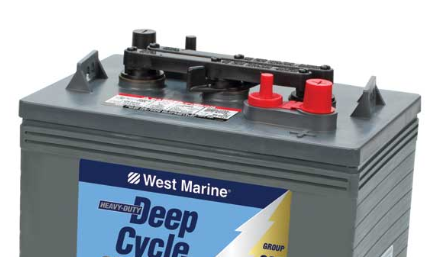
After our shakedown cruise, we discovered that even with the 4 x 8d deep cycle and AGM batteries they would barely hold a charge overnight with the 12v fridge running and some house lights. After some investigation we found several of the rules of long battery life being voilated.

- The batteries were different types. All batteries in the house battery bank should be the same type. This allow them to draw down evenly and recharge evenly without wearing some out first.
- The batteries were different ages. 2 of the 8d’s were 18 months old and already no good, the others were much older. When building the house battery bank all batteries should be the same age.
- Not wired correctly. The batteries were not set up to give even distribution on load and recharging. They were wired in parallel with different length cables connecting them, and chained off of the very first battery that was connected to the boat. This should instead be wired in parallel with the black wire connected to one end of the parallel bank, and the red wire connected to the other end of the parallel bank, allowing for even distribution.
- The House battery to starting battery crossover was turned on. We didn’t notice this when we purchased the boat, and it was missed on the survey. It turns out port side starting batteries were completely dead, and would not take a charge. The house batteries “Jump” start switch was turned on and the port side engine was running off of the house battery bank rather than the starting batteries. The crossover from house batteries to starting batteries is only to be used to start the boat on the rare event of a dead starting battery, rather than to run that way permanently. This brings us to the next step which is to replace the port side starting battery that will be covered in a different post.
- Wingnuts overloaded. Wingnuts are not recommended on a house battery bank because you can’t get as solid of a connection as with a normal nut.
- There was also 7 or 8 other items that were wired directly to the house batteries, I am still not sure what all of these are, but some of them appear to be the automatic bilge pumps which need to be directly connected to keep the boat from sinking, but there are too many connections there. The solution for this is to use a bus bar to connect those items rather than having them all connected to the batteries.
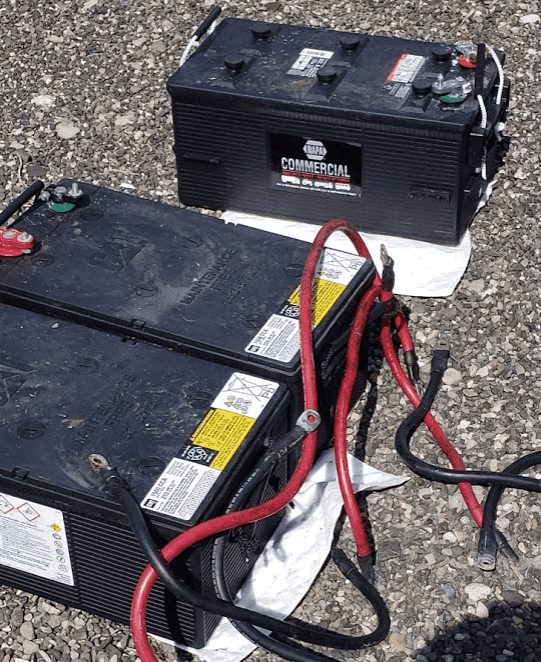
Removing the batteries was a bit of a challenge due to the size and weight. The plan is to replace these monster batteries instead with 6v “Golf Cart” batteries for longer live and more amp hours.
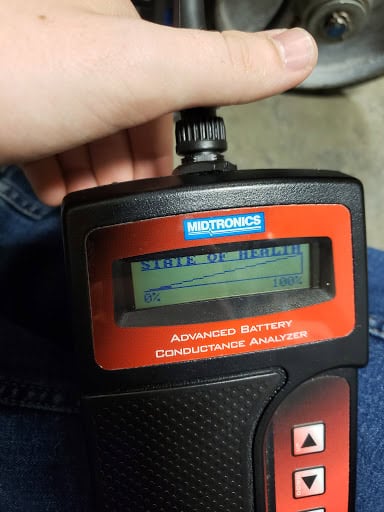
After returning the batteries for the “core” deposit, the shop ran a battery test on the two batteries that were AGM batteries only 18 months old, and it showed that they were completely shot. This could have been caused by the a number of factors, most likely the fact that the original battery bank was not wired correctly, and that the crossover to the starting batteries was permanently on.
Why not AGM Batteries? Lead-calcium batteries deliver more power per pound than competitive dual-purpose or AGM batteries. The benefit of the AGM battery is that it is zero maintenance, but the golf cart lead-calcium batteries last longer if the are properly maintained once or twice a year.
Battery Layout
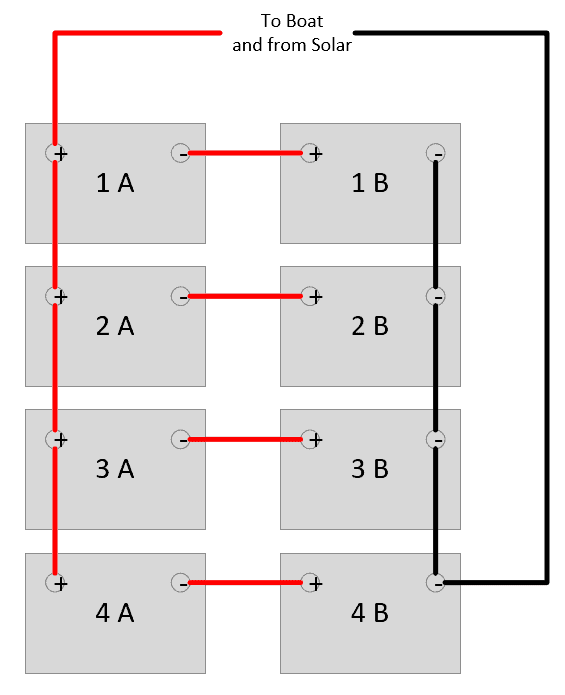
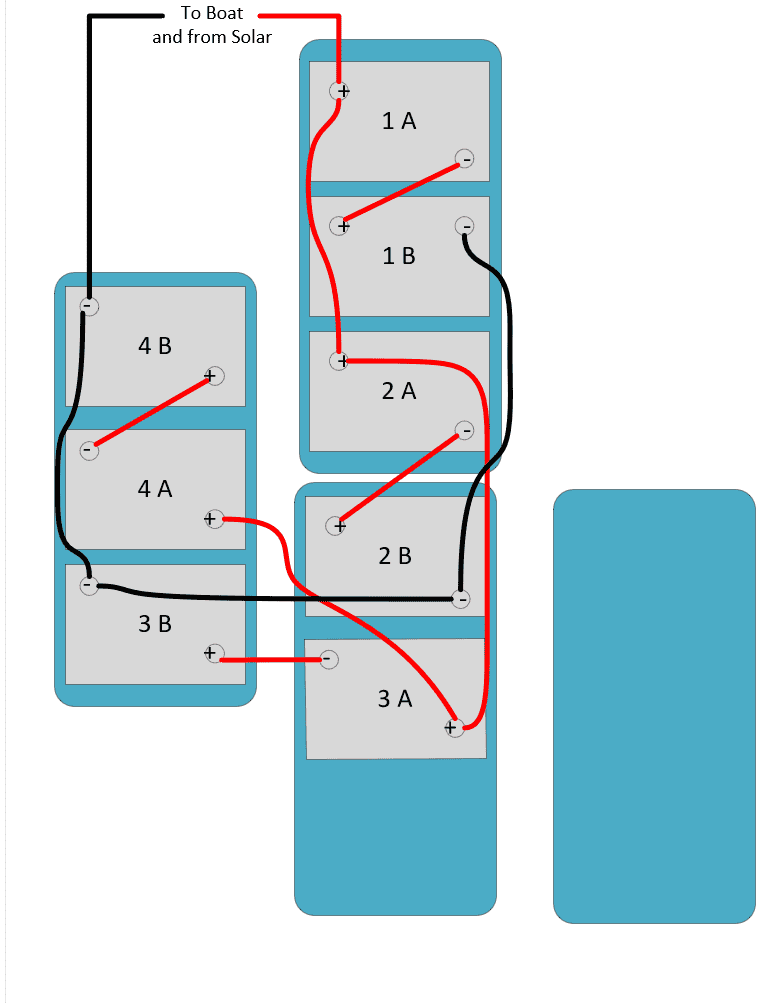
Going with the recommendation to use the golf cart 6v (GC2) batteries, that meant that we needed to wire them partially in series and partially in parallel. After doing the research on how to properly do this we came up with the following conceptual diagram.
In this picture each battery is a 6v battery, and wiring them in series between the A/B battery in each group brings it to 12 volt, and wiring those 4 sets of 12 volt pairs in parallel keeps it at 12 volt an brings the amperage to 920 amp hours. This takes up less space then the previous batteries and has more amp hours than the previous bank had (840ah) when it was new.
In actuality, it wasn’t quite as clean to layout as the plan diagram, we had the existing battery boxes to fit into. We can fit 3 of the GC2 6V batteries into one of the 8D battery boxes as outlined below. The blue rectangles are the original 8D battery boxes, and we have room to add 4 more of the GC2 6v golf cart batteries. When we do that it will expand our capacity to 1260 amp hours.
Why are we focused on so many amp hours when we have a generator on board. Part of our set up is that we do not have an shore power where we normally keep the boat, and we do have removable solar panels that we will keep on the boat from April through Mid October. The solar panels will be removed during the really stormy months to avoid damage. The extra amp hour capacity will allow us when we run the bank down to charge up as much as possible during the peak solar charging hours during the day and hold that charge for a while, reducing the amount that we need to run the generator.
The Bus Bar
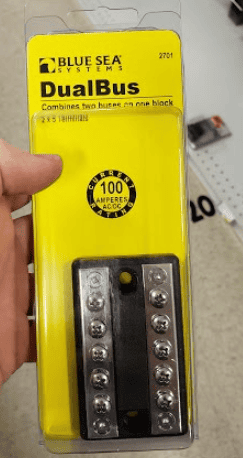
As far as moving all those extra small wires to a bus bar. The bus bar we decided on was a Blue Sea Dual Bus which will allow us to move all of the small red and black wires from the batteries and locate them in one central location.
Performance Changes
One thing to keep in mind is that we don’t have shore power at the dock where we keep the boat, so we keep the house batteries topped off with the solar panels. What we found with the old batteries that were not working well is that we were able to run the 12v refrigerator 24×7 in the spring season in the Pacific Northwest and the solar would keep the batteries topped off. What I did notice was that the batteries would draw to to just under 11v during the night, and charge back up to 13.5v during the day.
With the new bank of batteries, there was a drop of maybe .2v during the night running the 12 volt refrigerator, so I decided to see what else I could keep running 24×7 off the house batteries, keeping them topped off with solar. The first experiment was leaving the inverter on, and running the ice maker to keep it full of ice, so we have a full ice bucket when we are ready to take off in the boat. Of course running the ice maker also meant that we needed to run the water pump to keep the water supply going to the ice maker. So far so good, there has been minimal drop on the batteries overnight and we have an ice maker full of ice when we are ready to go.
You may remember from the previous post on our shakedown cruise that we had issues with the ice maker making really stinky ice. That was fixed with a new water filter for the ice maker, and running through several batches of ice to clear out whatever old stinky water was in the system. The ice is all good now.
Tools Needed
There were a few items that we needed to purchase in order to make the battery cables. In the long run with the number of cables we had to cut and custom make to a specific length, it was well worth the purchase.
… Still in progress. Check back later for more details.